Como Conectar seu Domínio do Google ao Vercel

TL;DR
Neste guia, você vai aprender como conectar seu domínio personalizado do Google Domains à sua aplicação no Vercel. Ao final, seu site terá uma URL profissional e fácil de lembrar, em vez do endereço padrão .vercel.app.
Observação: Este tutorial assume que você já tem uma aplicação deployada no Vercel e um domínio comprado no Google Domains.
Passo 1: Configure seu Domínio no Vercel
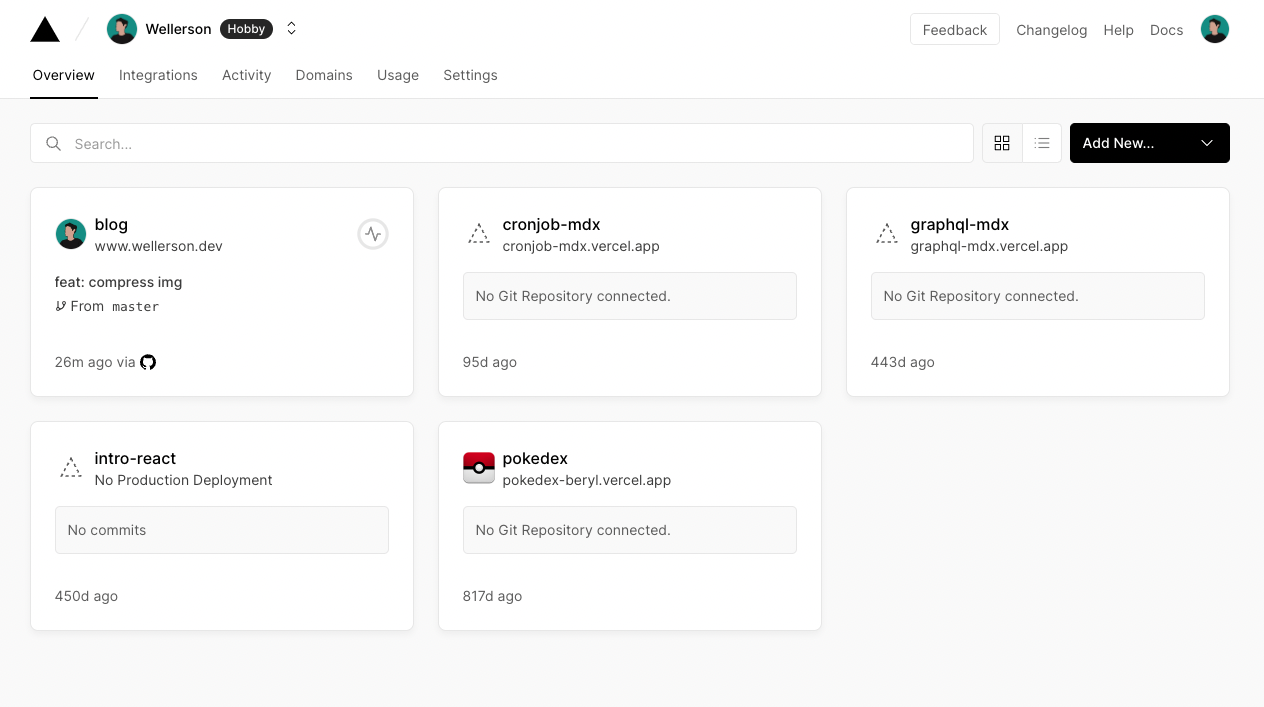
Primeiro, acesse seu painel do Vercel e selecione o projeto que você quer conectar ao domínio personalizado.
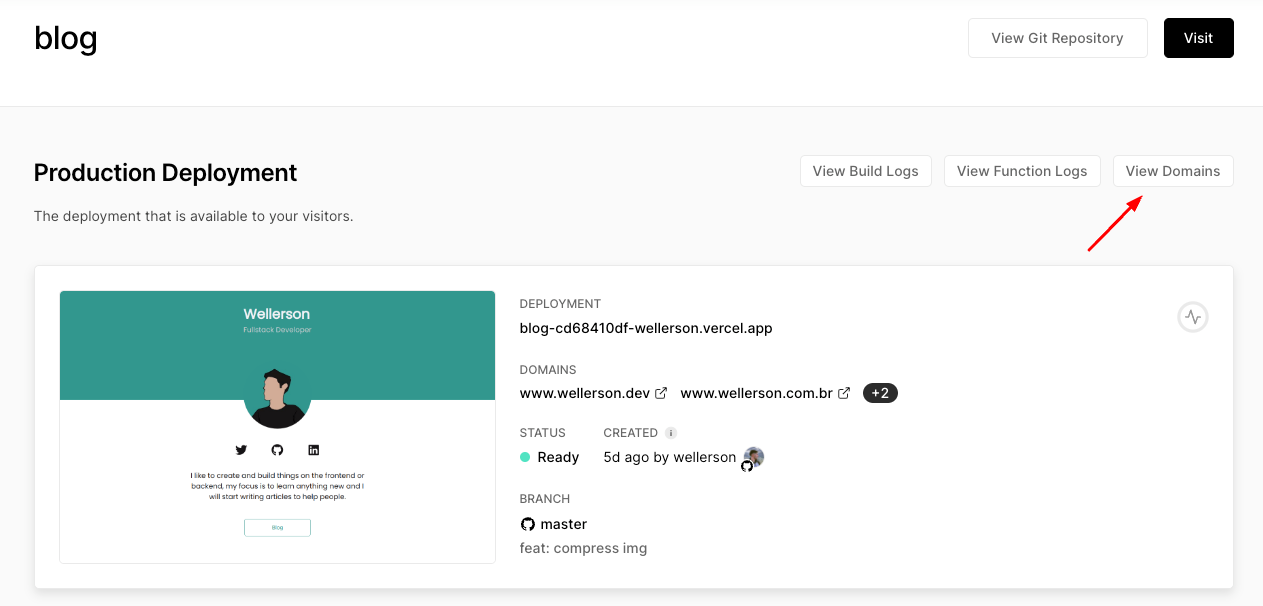
Em seguida, navegue até a seção Domains nas configurações do projeto.
Clique no botão Add para adicionar seu domínio comprado.
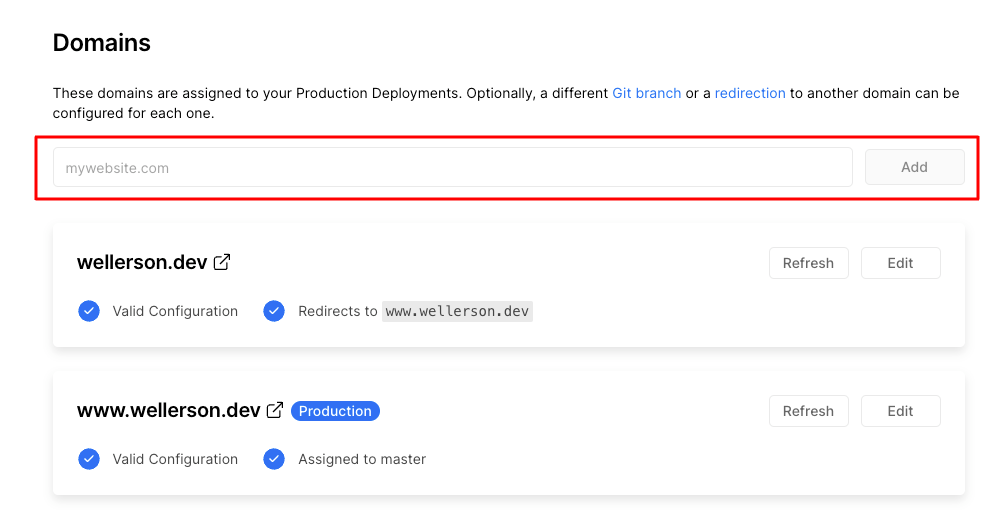
Digite o nome do domínio e selecione a opção recomendada pelo Vercel. Essa configuração vai garantir que tanto https://seudominio.com quanto https://www.seudominio.com redirecionem corretamente para o seu site.

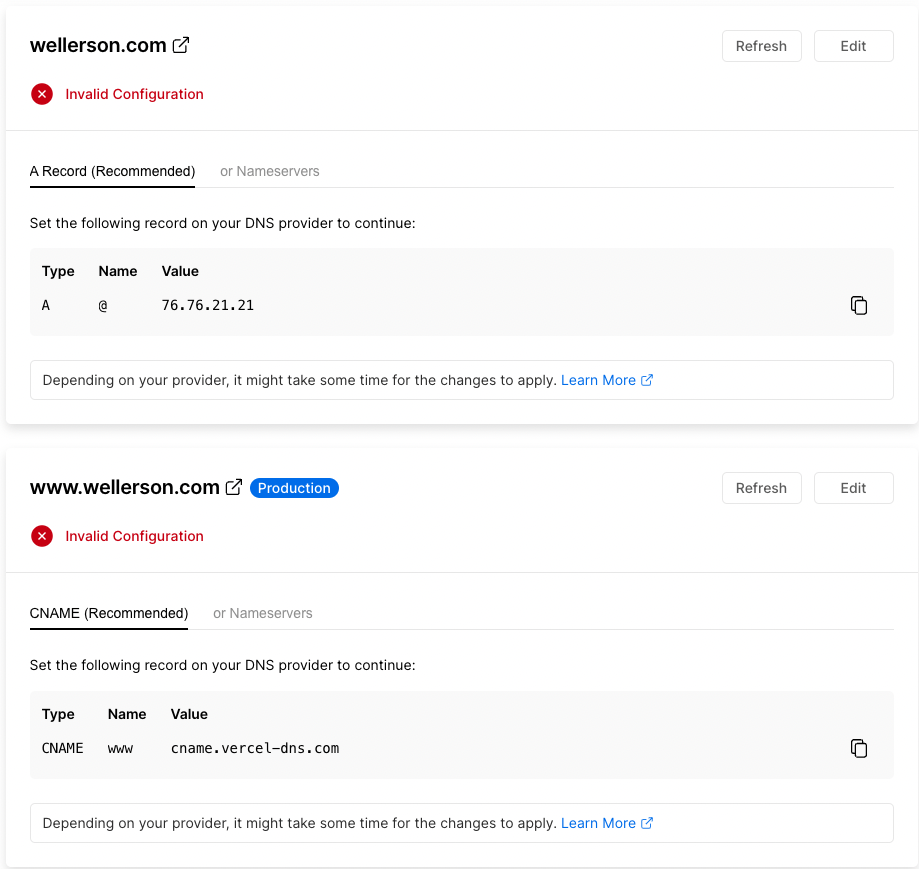
Após adicionar o domínio, o Vercel vai exibir os registros DNS que você precisa configurar. Anote esses valores — vamos precisar deles no próximo passo.
Passo 2: Configure o DNS no Google Domains
Agora, acesse o Google Domains e selecione o domínio que você comprou. A interface é simples — navegue até a aba DNS no menu lateral esquerdo.
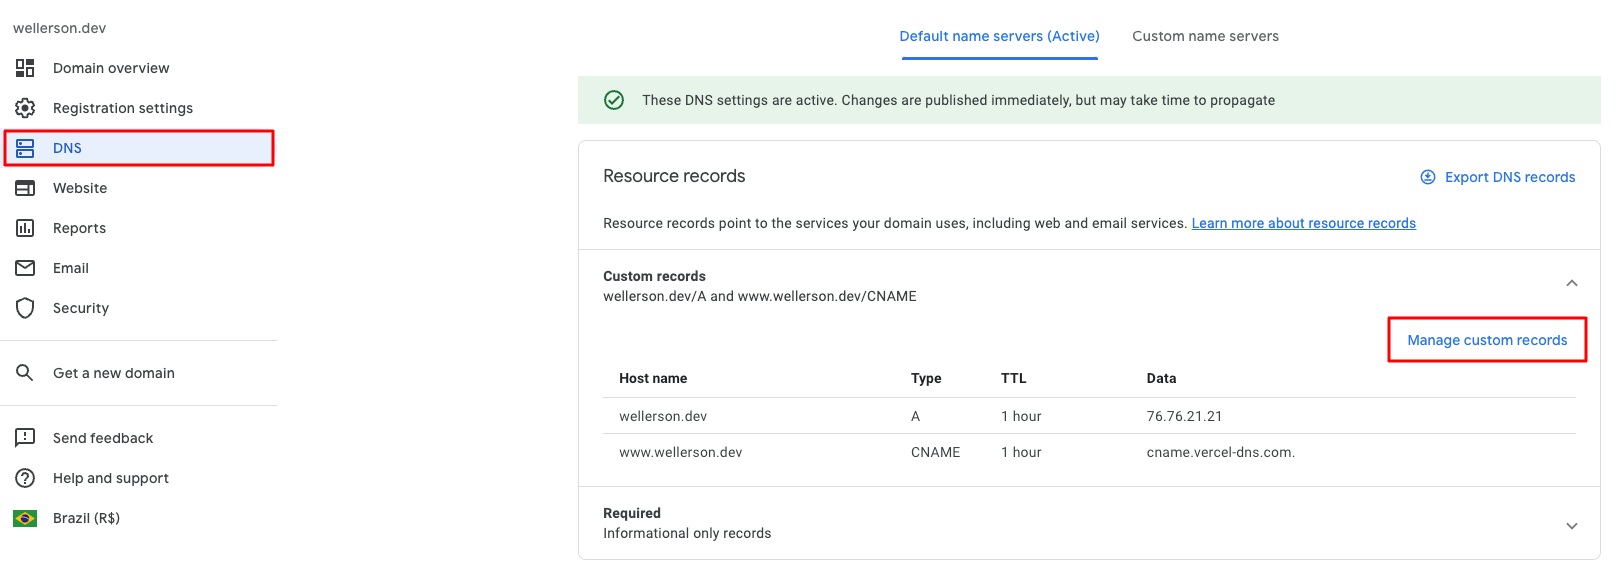
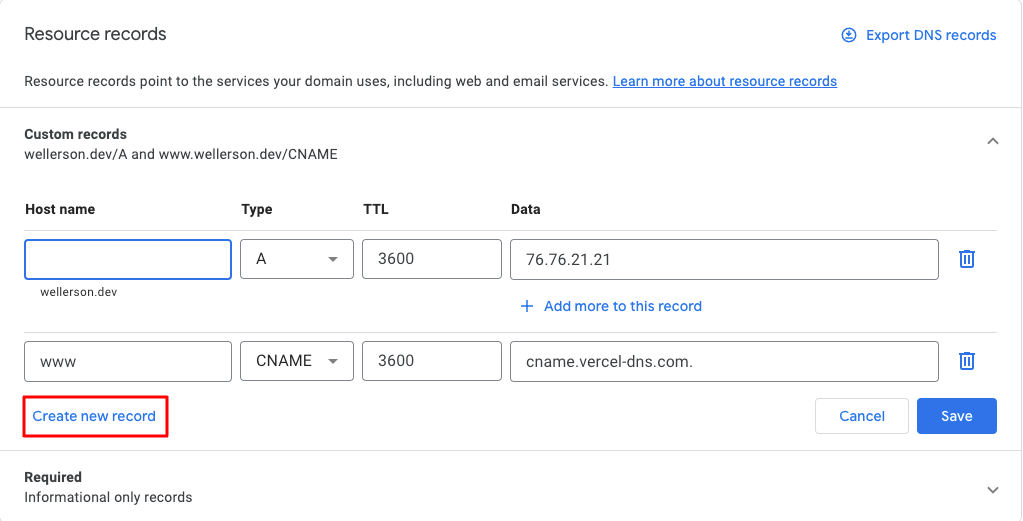
Nas configurações de DNS, você precisará adicionar os registros fornecidos pelo Vercel. Crie novos registros DNS selecionando o tipo de registro adequado (A ou CNAME) e inserindo os valores correspondentes do Vercel.
Pronto!
Seu domínio personalizado está configurado. As alterações de DNS podem levar alguns minutos para propagar, mas quando concluídas, sua aplicação no Vercel estará acessível pelo seu domínio personalizado. Você pode verificar a conexão conferindo o status do domínio de volta no painel do Vercel — ele deve exibir um símbolo verde quando tudo estiver corretamente configurado.